For those of you living in South Africa, the LA Girl brand is one of the few foreign polishes that are easy to find and reasonably priced. They retail for aboyt R35-R40 at Dischem.
I’ve bought a bottle or two (some were not so great), but I must say, I’m really impressed by this one! It’s the new Sand finish and it’s really impressed me. It has a beautiful, subtle glitter shimmer as well as that awesome sand texture. The colour is also absolutely stunning, it’s a deep peach which looks awesome on most skin tones. I bought the Glissand (GNL 164).
Definitely recommend the LA Girl Sand Blast polishes! 🙂
Guess what, it’s Friday! I couldn’t be happier for the weekend and a long deserved rest (who am I kidding, it’s St Paddy’s Day).
I decided to do something simple and cute, it’s about time. I’ve had the same polish on for close to two weeks (with a bit of a touch-up here and there). I used a Modi nude that I have from Korea and Sinful Colors white (loving the Sinful Colors btw).
I hope you all like my simple mani. Wishing everyone a happy Friday and a fun-filled weekend.
I am alive, despite what you may think with the lack of posts!
This is a quick one to say, Happy Friday to everyone. 🙂 I hope you all like these antique roses as much as I do! I’m loving wearing them and will take them out for a night on the town tonight 😉
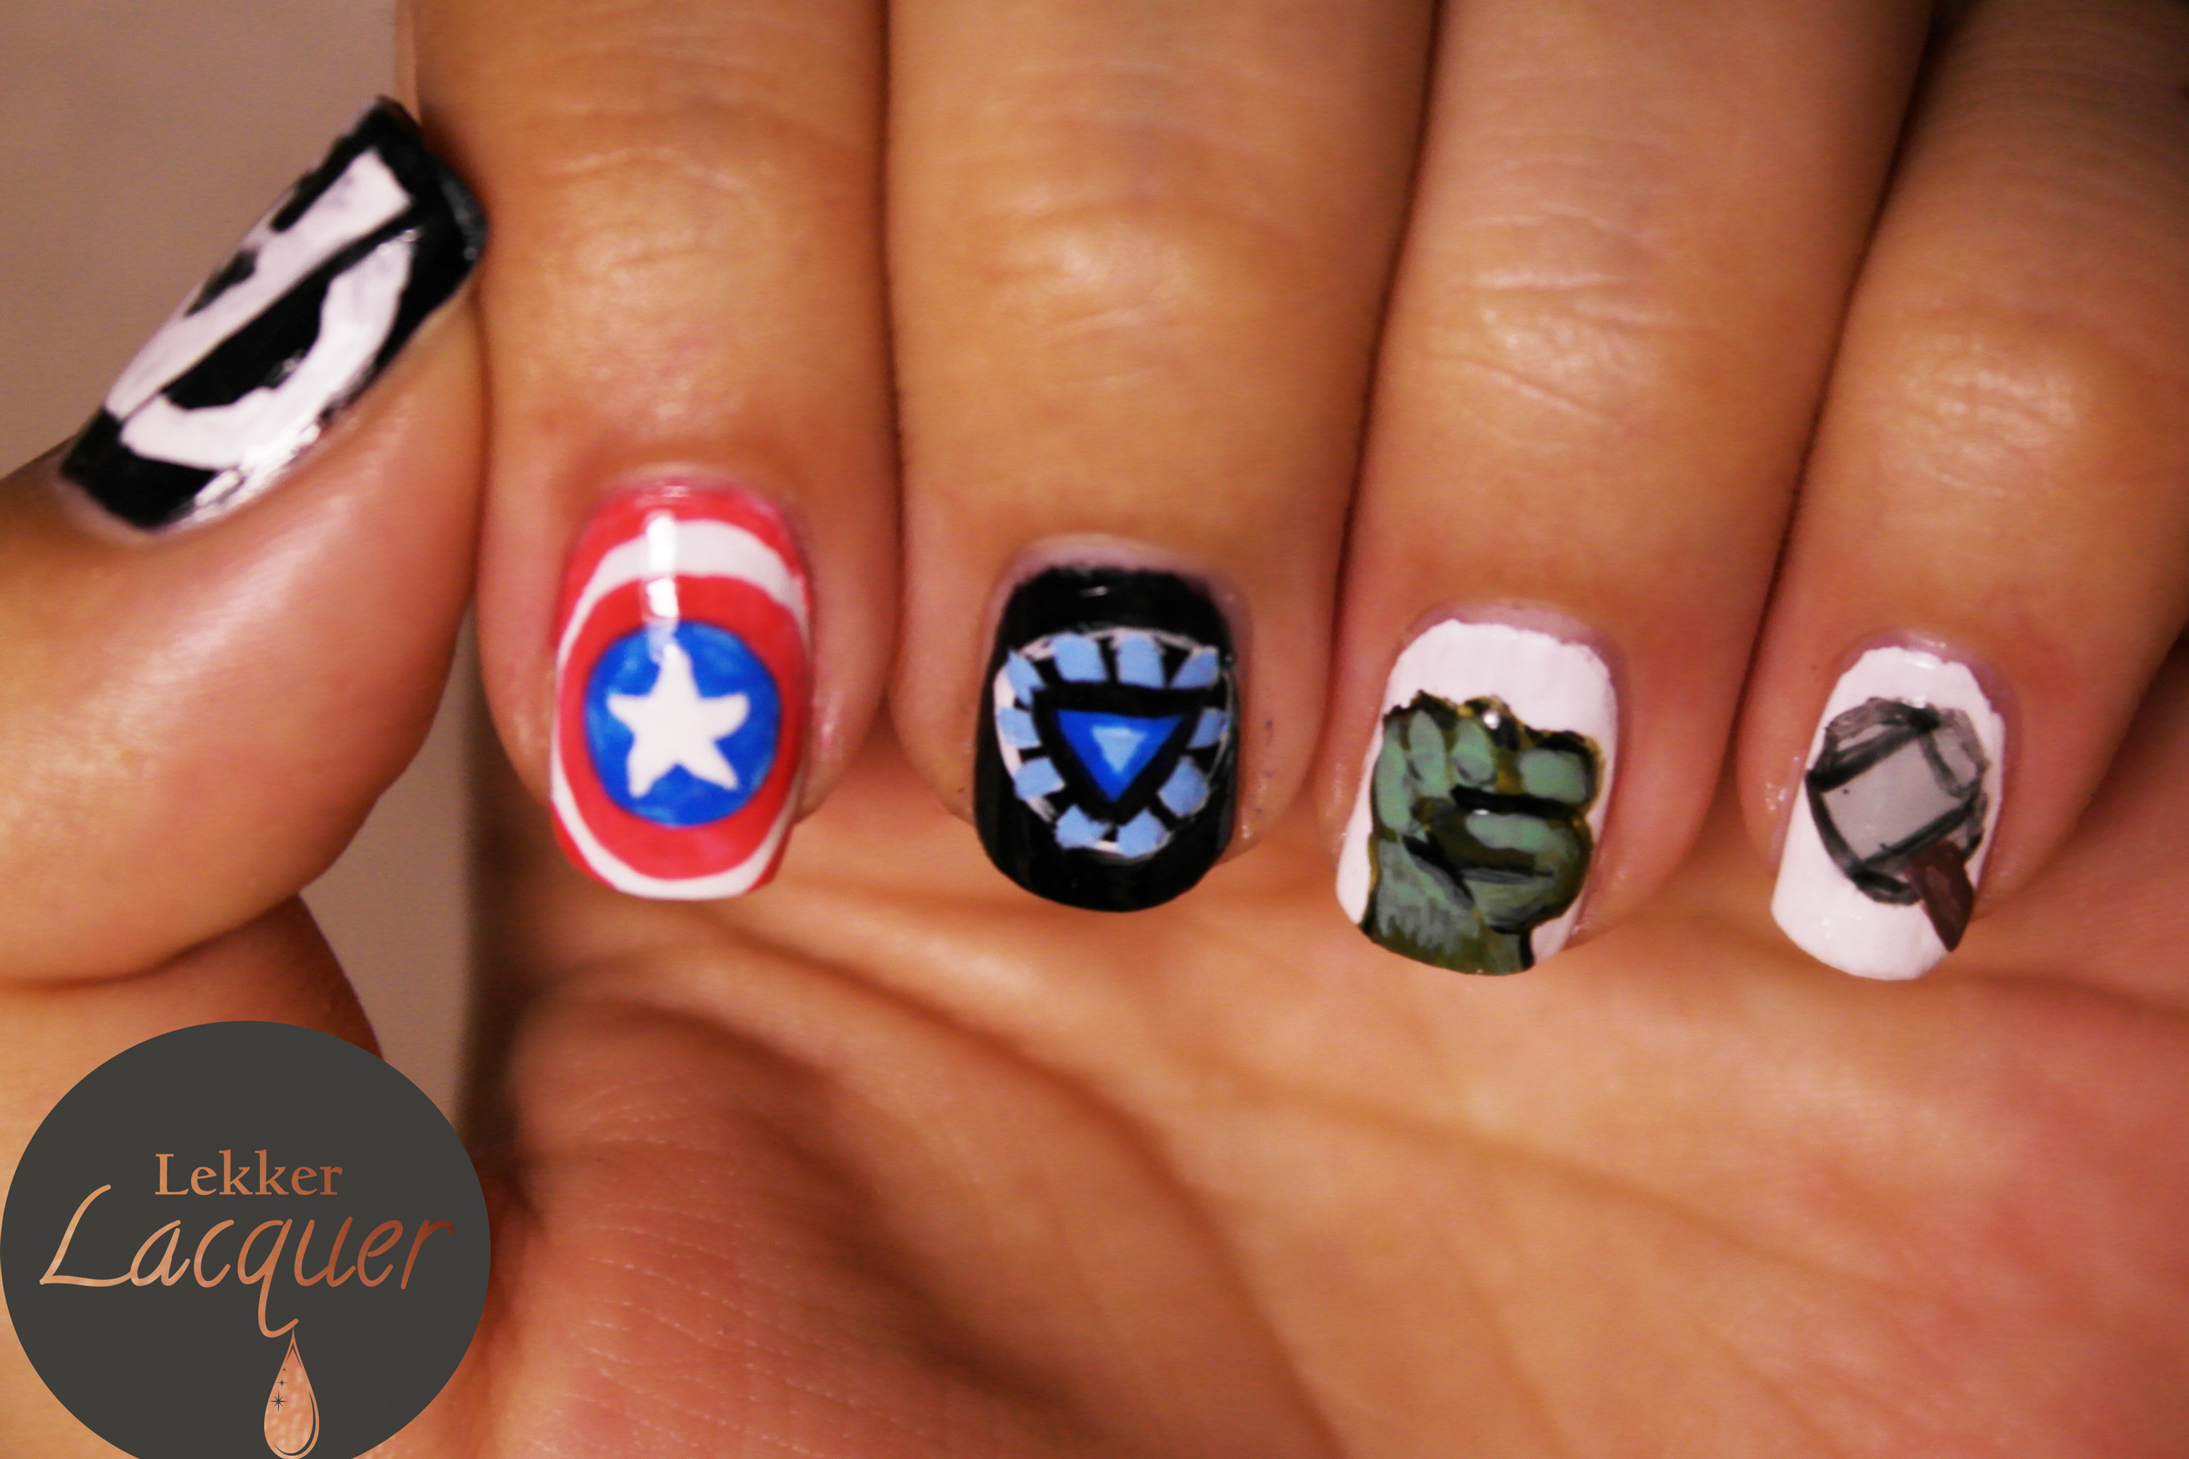
It is the second week of Danni from Gingerbread Smile‘s Nail Art Weekly challenge. The theme for this week is TV or Film. I must say, I’m a bit of a TV baby, so it was quite tricky to narrow it down.
I’ve always loved Marvel comics and the Avengers movie was just too awesome to have all the characters together. So, yes, you guessed it. I decided to do an Avengers manicure. I hope you like!
Don’t forget to check out the other bloggers participating. You can see a list on Danni’s blog here.
I’m slightly late on this post, but very excited for the Nail Art Weekly Challenge that Danni from Gingerbread Smiles has put together.
The theme for this first week was clothing/fashion. What better inspiration than The Grammys? I saw Katy Perry’s dress and absolutely loved it. So here are my Katy Perry inspired fashion nails.
Check out the other bloggers participating by clicking here.
This is the second Yardley Quick Dry (Limited Summer Edition) polish that I bought. You can see the Summer Sun swatch here. This range of Yardley Quick Dry polishes, as far as I know, was only released in South Africa. I got it on sale, so I assume that it’s from last season. I still like it though (and, who can resist a sale??).
This colour is called: “Midnight Magic”. I really love this colour! It’s got a beautiful, midnight blue, rich colour. There’s also a subtle violet shimmer which I love. What do you think?
Compared to the yellow that I swatched a few days ago, this takes much fewer coats to cover the nail completely. The Summer Sun yellow took 3-4 coats! This covers nicely with only 2 coats.
It’s easy to apply (again, loving the applicator brush shape and size) and the consistency is good. All in all – I like! Here’s a summary of my thoughts on this polish:
There was an amazing sale the other day at a pharmacy in South Africa. I must admit, I went a little overboard and bought a whole lot of polishes. I got some nice brands and I’m excited to review them.
Amongst the 12 polishes I bought (yes, 12), I got a Yardley Quick Dry – Summer Sun (Limited Summer Edition). I think that this particular range was only available in South Africa. There were six colours in the range. And I’m sure they are from last season if they are on sale.
I absolutely love this colour. It’s so vibrant and bright. It’s a really lovely shade of yellow. Here’s what the final outcome looked like:
The consistency of the polish was extremely thin. As such, it was sheer for 2 coats, only on the 3rd coat did it finally become opaque. That said, it could have even had another coat! This was probably my least favourite part of this polish. See the photos of each coat below.
My favourite was the brush that Yardley used. It had a circular tip which fitted the contour of the nail bed so nicely. My pinky just took one stroke and the brush formed a perfect semi-circle at the base of the nail. I liked this a lot!
Overall, here’s what I think about this polish.
I couldn’t resist playing around a bit with this manicure. I took some shells that I bought in Korea and stuck some onto two accent nails.
Happy New Year to everyone. I want to take this opportunity to thank you all for the support in 2013 and I look forward to a year filled with even more mani’s in 2014.
So, what better way to bring in the New Year than to look back at the year past? I’ve chosen a few mani’s from my blog from 2013 based on the following criteria:
Most viewed post
Most comments on a post
My favourite tutorial
My favourite mani
Most popular mani of all time (not necessarily 2013)
My favourite tutorial: Hand-painted Roses
This was inspired by Katy Perry nails that I saw online. I love how they turned out!
My favourite mani from 2013: South Africa: Ndebele Manicure
With the recent passing of Tata Mandela, this manicure has had special importance for me. It really portrays the colourful, vibrant nation that South Africans come from.
Most popular mani of all time (not necessarily 2013):Ombre Nails Tutorial
This was from 2012, but is still extremely popular with viewers.
A close second (which has really surprised me) is the Arsenal Fan nails I did. I did these because my boyfriend is a huge fan, so I thought it would be fun. I constantly get views on this and I would love to do another version in 2014.
Thank you for all the support, kind words, advice and feedback from 2013. I’m looking forward to this year, meeting new bloggers, learning, trying new things on my blog and improving it even more. That’s it from me. What are your favourite posts on your blog from 2013?
It’s the last day of 2013 and I thought I’d end off the year by doing something that I’ve been meaning and wanting to do for a while. David from Moon Sugar Decals contacted me and offered a free sample of their nail transfer decals for review. You can visit their site here.
I was very impressed that these were sent all the way to South Africa, no problem. I received them a while ago and I’ve been so excited to try them. I’ve put together a short How To as well as a review of the product and my experiences.
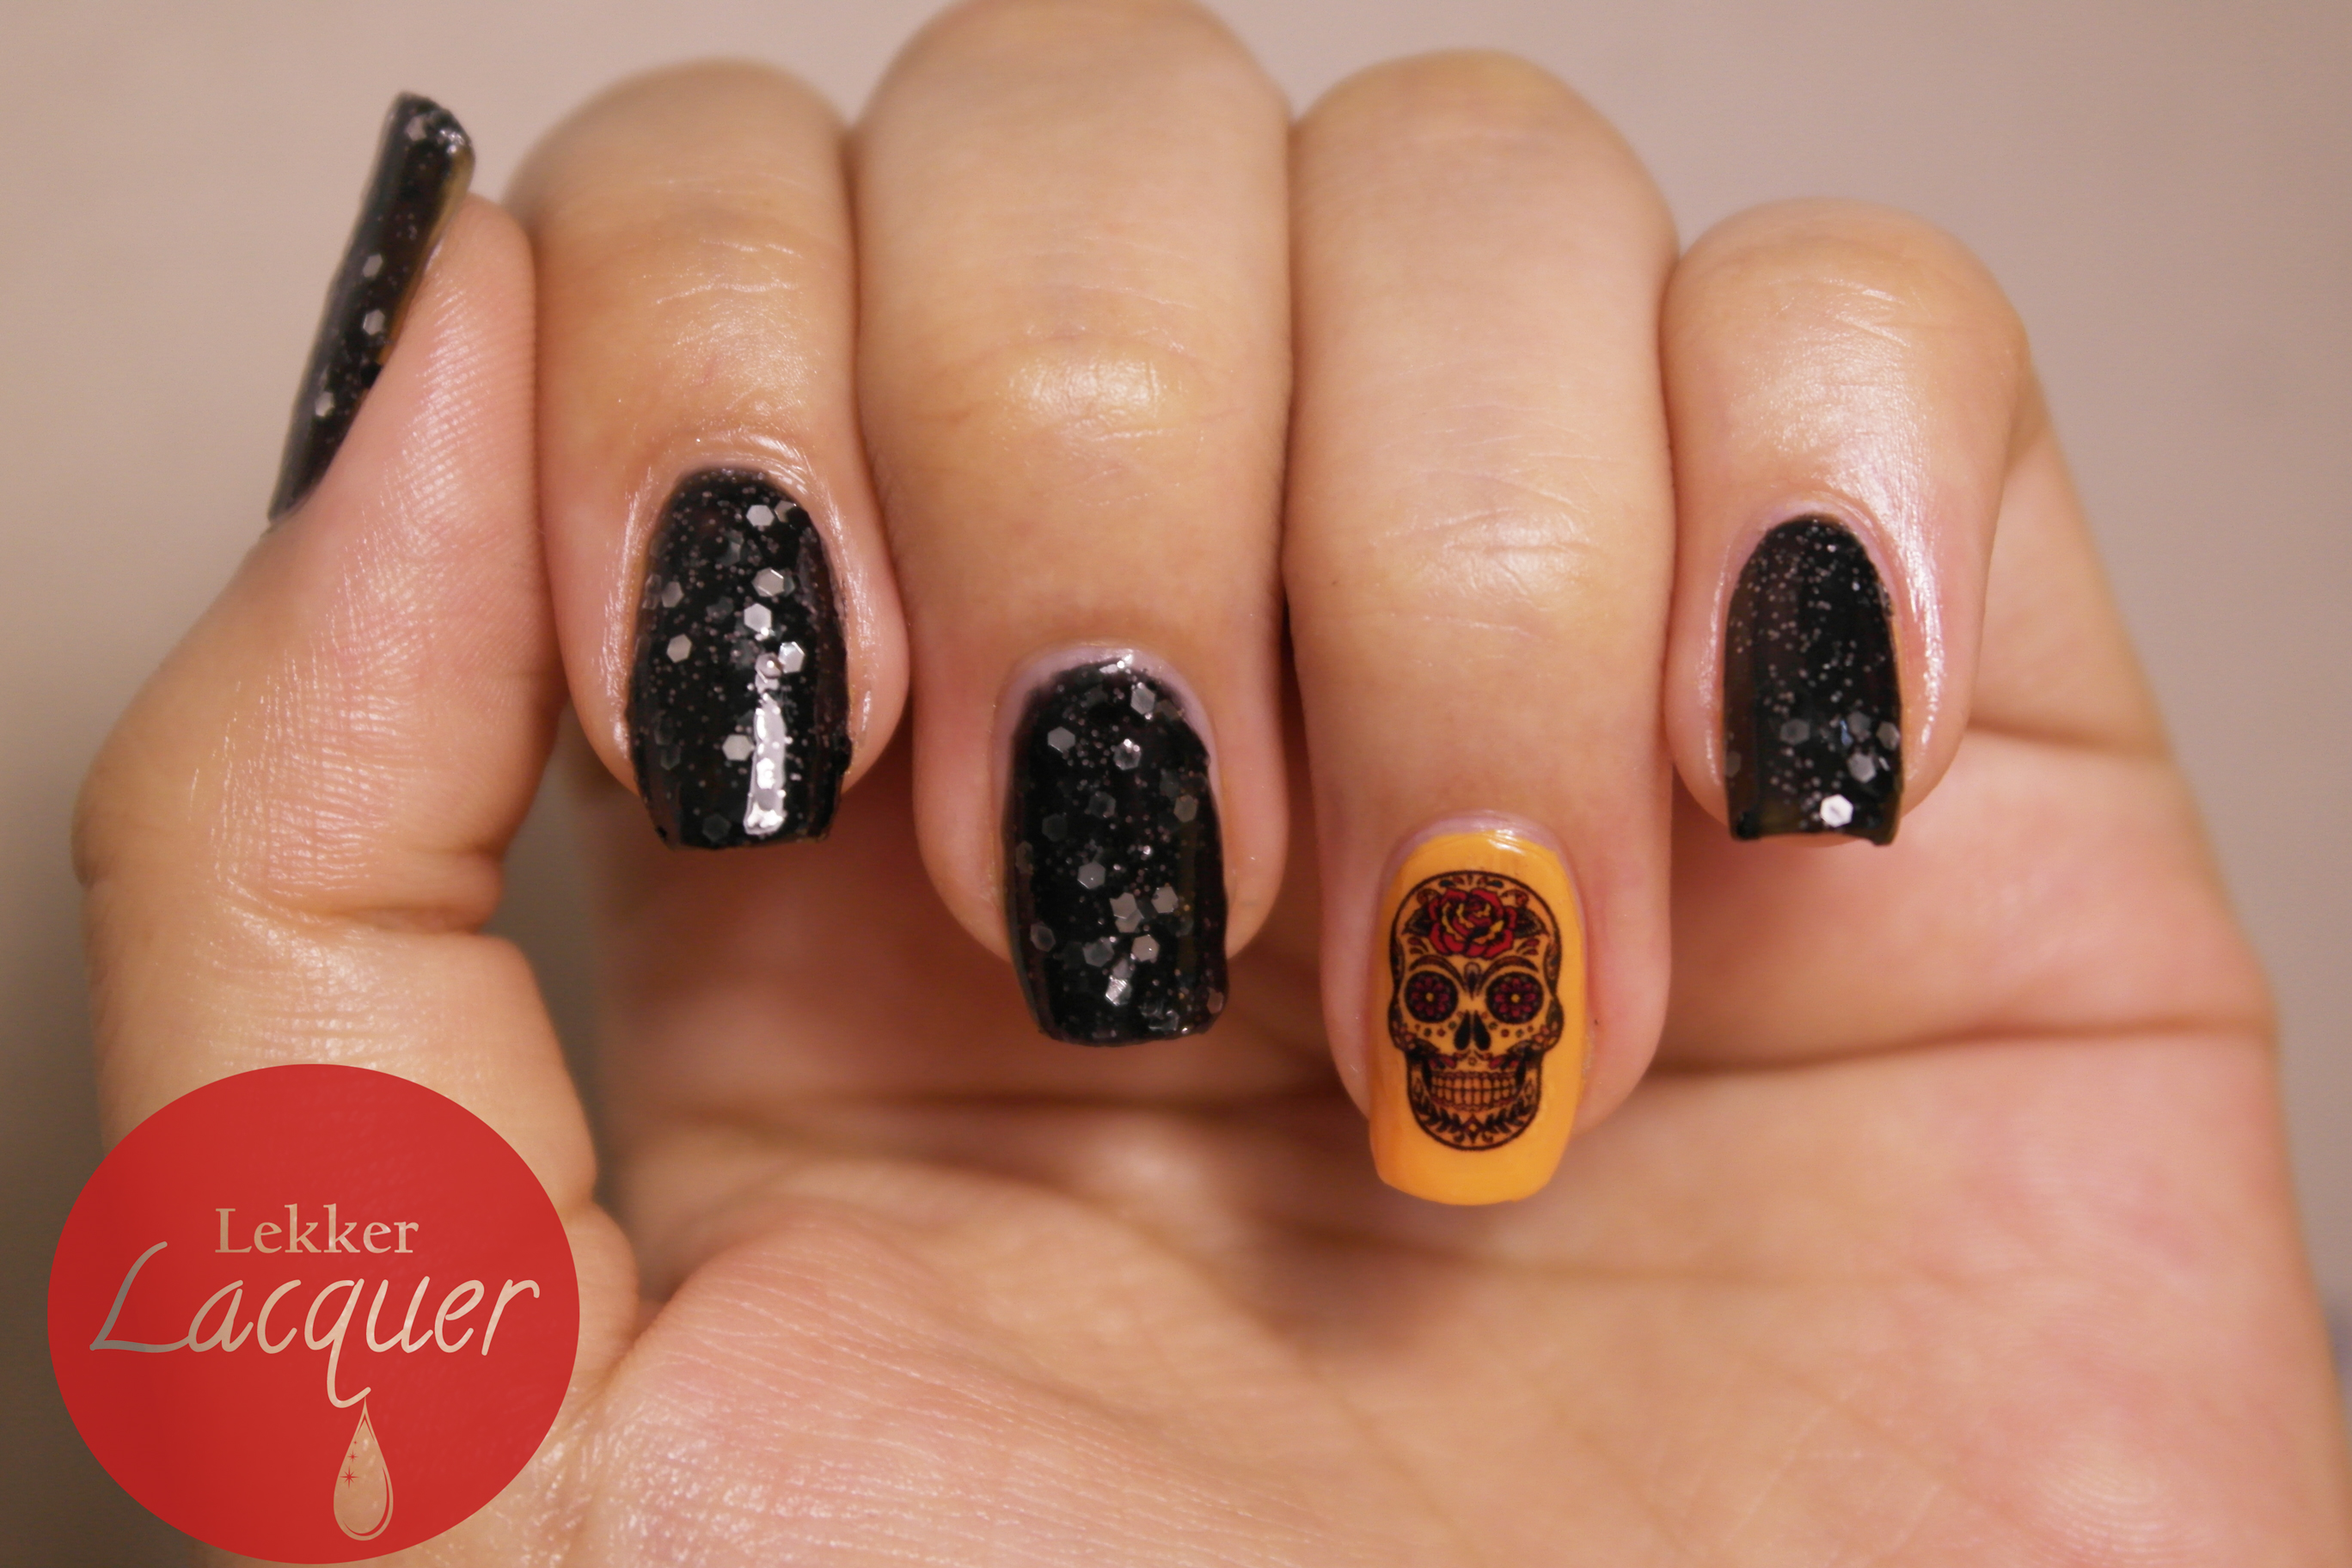
I’m going to skip ahead to the final result, as I think it’s really great. I’m so happy! If you want to know more, you can read further. Here is the final mani:
Here’s the finer print for those of you who want to do this at home:
I received 2 types of decals: A skull rose design and pink Breast Cancer Awareness Ribbons. The decals come in long strips with between 10 and 13 decals (my skulls had 10 and the ribbons had 13).
This is what you will need to do a decal/transfer manicure:
Step 1:
First things first, you need to apply a base coat and whichever undercoat you would like. I used Revlon COLORSTAY “090 Sorbet” for the accent nail. The other nails have Revlon “Sparkle Aplenty” on them. Paint the required number of coats and wait for them to dry completely.
Step 2:
Now, the first thing I noticed that was different from other transfers I’ve used is that you do not need to remove a top plastic layer. The plastic later on top actually has the design attached to it (so don’t tear it off).
Cut the decals as close as you can to the image.
Step 3:
Using your tweezers, dip your decal into the warm water.
Step 4:
Place the transfer on your nail and slide it off.
Step 5:
Paint two coats of top coat on top of the decal. And that’s it! Easy 🙂
What do I think?
All in all, I was impressed with the quality of the transfers. The detail and clarity of the images are amazing once they are on your nails. The only confusing thing is the transparent layer on top which was different to what I was used to. I didn’t know to cut it so close the the image. But hopefully my trail and error will help you with yours.
I would really recommend these decals, the product is great and they have a good selection of different images.